💡Locations page in Ops Execution
|
The Locations page is your central hub for managing all of your company’s locations. You can view and edit the info for your locations here. Here’s a quick overview of how to use it effectively. |
🔍 Navigate this article: |
Viewing Your Locations
When you open the Locations page, you’ll see a list of all the locations your company has.
| If you’re looking for a specific location, use the search bar or click on Filters to narrow down your list. | |
| You can choose how many locations are displayed at once using the dropdown at the bottom: | 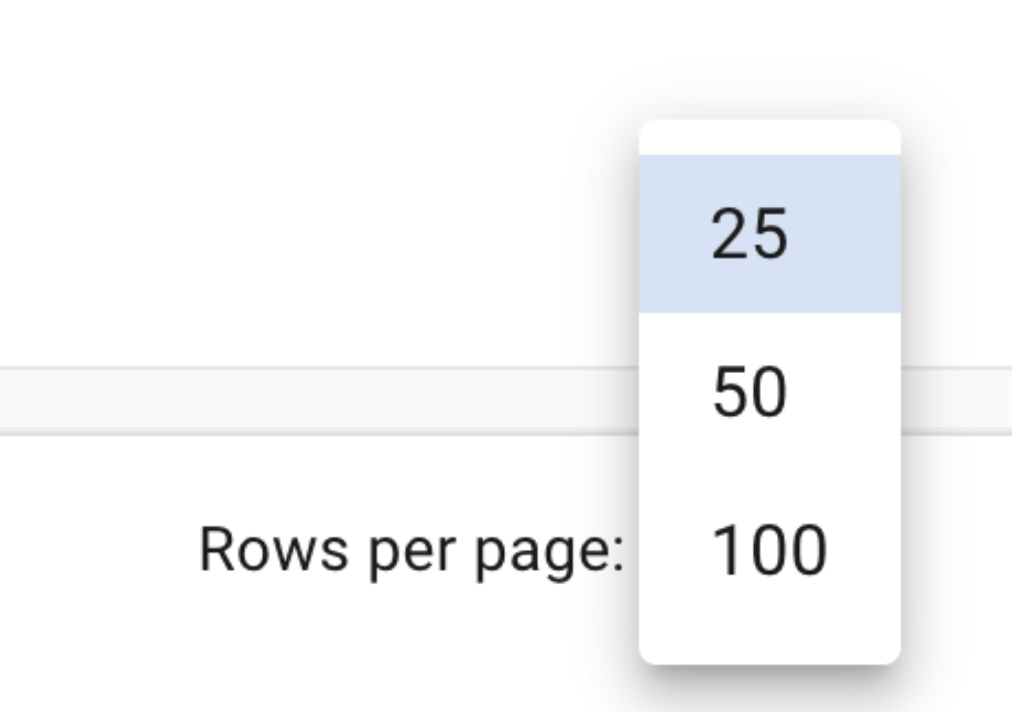 |
Using Filters
| Clicking on Filters opens up options to filter locations by: |
To reset your filters and see all locations again, just click the reset button in the filters section. |
Exporting & Adding Locations
| To add a new location, click Add Location in the same upper right corner. To export locations, select the ones you need and click Export in the upper right corner. | |
|
Next click on Excel (All) and you will be emailed an Excel spreadsheet containing a list of your locations. This will show you all location information including external keys, tags, and hierarchy related information. | |
Bulk Editing Attributes
You can also edit attributes for multiple locations in bulk on the locations page, like this:
|
That’s it – this is how you can navigate and manage your Locations page with ease! 🌟
Comments
0 comments
Please sign in to leave a comment.